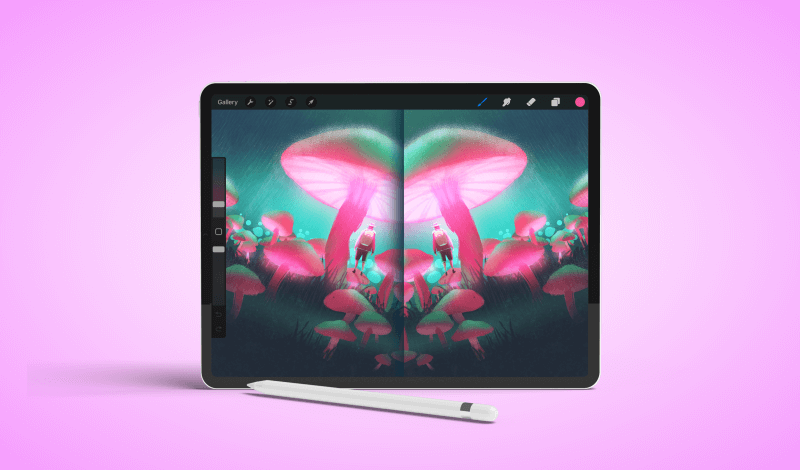
Have you ever thought about how to use Procreate to mirror objects? Like when you draw something and you want an exact copy of it but in a mirror image. With the Symmetry Tool, you can do just that. This is a feature that is both powerful and useful.
Procreate’s symmetry tool makes it simple to achieve perfect mirroring and consistency in your artwork making it look more precise as a result. Procreate comes with all of the tools you’ll need to produce stunning artwork, and today we’ll learn how to mirror on Procreate.
Because there are so many various methods to accomplish symmetry in Procreate, let’s go through the most important of them one by one, and you’ll be well on your way to mastering mirrored drawing and symmetrical proficiency in no time.
[lwptoc]How to Mirror on Procreate
Click the Settings Button
The wrench may be found in the toolbar’s top right corner. A drop-down menu with a few alternatives to pick from should appear.
Choose the Canvas Icon
This is the icon with the squiggle inside of it that appears like a rectangle. When you activate the canvas, a new page will open where you may draw.
Toggle on Drawing Guides
It will turn itself on with a single tap on the toggle. When it turns a brilliant blue hue, you know you’ve switched it on.

Select the Edit Drawing Guide option
The Drawing Guides interface will appear. A tool panel should appear at the bottom of the screen. It offers four choices, but we’ll just use one of them for now: Symmetry.
Choose Symmetry to Mirror as your Guide Type
A vertical line should emerge in the center of your canvas at this point. Slide your finger across the narrow rainbow line at the top of the screen to alter the color of this line.
Choose your Thickness and Opacity
The opacity of your vertical line determines how visible it is, while the thickness determines how thick it is.
To Mirror, Press Done
It’s crucial to keep in mind that this function only works if you pick one side to draw on right or left. And it’s done, now you know how to mirror on Procreate.
How to Use Vertical Symmetry in Procreate
Enable this option by going to the Symmetry settings and choosing the Options tab. The Vertical Symmetry option in Procreate will draw a vertical symmetry line along the center of your canvas.
Whatever you draw on the left side will be mirrored on the right, and vice versa. It is ideal for sketching people, homes, and other objects that have an identical appearance on both sides.
How to Use Horizontal Symmetry in Procreate
The Horizontal Symmetry option in Procreate will draw a horizontal symmetry line across the center of your canvas. Whatever you draw on the bottom will be reflected on the top, and vice versa. Enable this option in the same way you did above. If you want a precisely horizontal line that divides your canvas into equal pieces on the top and bottom, use this option.
How to Use Quadrant Symmetry in Procreate
Procreate’s Quadrant Symmetry option will draw two symmetry lines, one vertical and one horizontal, on your canvas. Any drawing you make in one of the quadrants will appear in the other three. You can enable this option in the same way you did above and it may be used to create interesting and one-of-a-kind designs.
How to Use Radial Symmetry in Procreate
The Radial Symmetry option in Procreate will add four symmetry lines to your canvas: one vertical, one horizontal, and two diagonal. When you utilize radial symmetry, your screen will be divided into eight quadrants. That implies that anything you create in one part will appear seven times throughout your canvas. You can use this option in the same way you did above.
