 appStalkers All About Apps & Phones In One Place
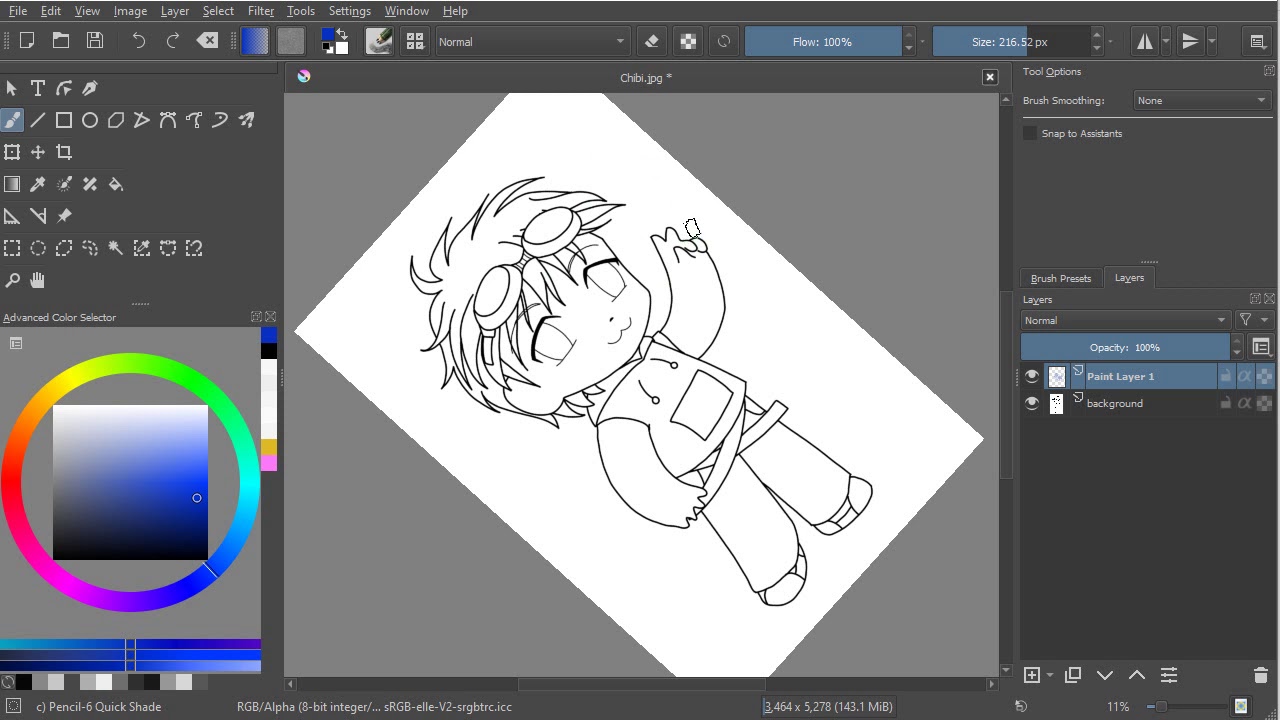
So, you’re interested in learning how to rotate in Krita, right? Once you get the gist of it, it’s very simple. The interface of Krita is incredibly customizable, giving artists a lot of options for how they want to arrange the pieces of their workspace. The elements can be snapped and arranged in the same way that Lego blocks can be snapped and arranged.
Dockers and Toolbars are two types of construction kit parts provided by Krita. Every group of pieces can be shown, hidden, moved, and rearranged, giving artists complete control over their user interface. In this article, we are going to tell you how to rotate in Krita. Let’s get right into it!
[lwptoc]How to Rotate in Krita?
- The first thing you should do is go to the File menu.
- To go to the File menu, go to the bottom left corner of the screen and click the “open” icon.
- After you’ve done so, you’ll get a list of all the tools and functions available in your software.
- The “rotate” tool, which may be found under the composition section, is one of them.
- The rotation option is the next thing you should look into.
- Simply double-click on the brush’s middle section to activate the tool.
- Where your mouse was previously, a white potato bar will appear.
- To begin your rotations, double-click in the centre of this bar.
- A radial selection region will be built around your picked image as you move the mouse.
Tips to Help You Rotate in Krita
Here are a few pointers to help you get started with rotating in Krita.
- You can drag particular portions of the canvas to change the direction of your rotation if you want to change the way you design the canvas.
- There are also certain shortcuts that you may use to speed up your rotation. For example, if you hover your mouse over the centre of the canvas and then drag in the rotational direction, your selected area will increase.
Variety of Tools to Learn to Rotate in Krita
The following buttons will come in handy as you learn how to rotate in Krita:
- Erase
- Clone Canvas
- Duplicate Layer button
- Deskew Button
- Scale Button
- Highlight Button
- Erase Previous Layer Button
- New Layer Button, etc.
These tools and the apps that use them assist you in removing undesirable images off the canvas. If you’re a true pixel pusher, you may use these applications’ layer option to delete undesirable photos and blend them.

Key Shortcuts to Help You Rotate in Krita
The use of the six-key shortcuts that are often employed by art aficionados can also be used to rotate in Krita. These shortcuts are simple to pick up and use. For example:
- You can use the mouse wheel to scroll through your options and the shift key to zoom in and out. They’re especially useful when you need to adjust your perspective or focus rapidly on your images.
- Holding the shift key while zooming or rotating the image to create the illusion of depth perception is a useful trick.
- Holding both the shift and control keys while clicking on the centre of the mouse is the simplest way to employ the six-key shortcuts in how to rotate in Krita. This will rotate the image you’ve chosen to the nearest degree.
- You can also zoom in or out by clicking and holding either the left or right mouse button. When you click while holding these keys down, your chosen image will be placed in the centre of your canvas.
- Finally, to go from portrait to landscape mode, simply click the rotate icon, and your selected image will be turned to match the current viewpoint.
Conclusion
These instructions will show you how to rotate in Krita in the most efficient manner possible. These straightforward instructions work on both Mac OS X and Windows. Learning how to use the numerous keyboard shortcuts for art tools like Adobe Krita is a good idea because it’s simple and quick to perform.