Who doesn’t love to create memories? We all like to capture the special moments in our lives and store them on our devices to relive them in the future. It would feel amazing to play a video recorded by your parents on your first birthday, right? It would melt your heart, but things can go the other way too if you delete the video by mistake.
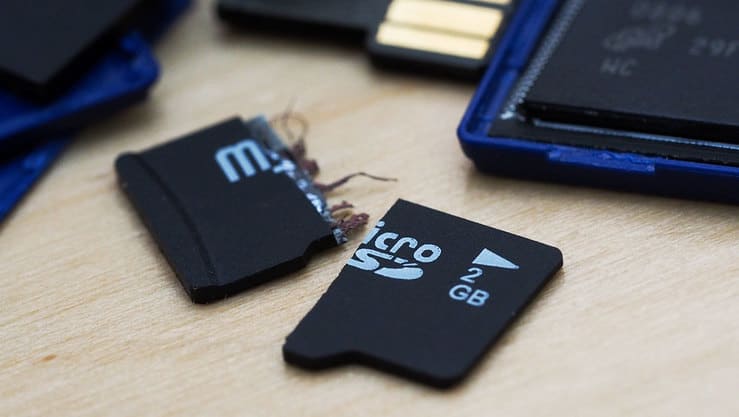
If you format an SD card by mistake, all the photos, videos, and other important files will be lost. Fortunately, these files can be recovered, and you can get them back on your memory card by following a few simple steps. In earlier times, recovering deleted files was a time-consuming and hard process; however, things have changed now, and you can do the job in minutes.
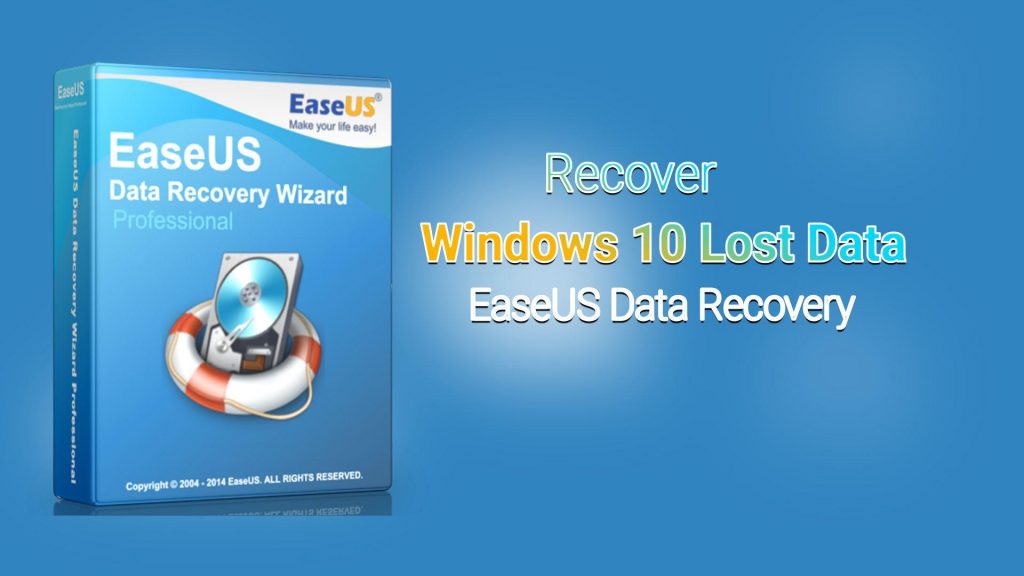
EaseUS Data Recovery Wizard is a data recovery software that allows users to get their lost files back. It is available for both Windows and Mac, and the best thing about it is that it’s very easy to use. It has made SD card recovery simpler than ever, and in this article, we are going to discuss the steps you will need to follow to do the job.
[lwptoc]How to Do SD Card Recovery in Simple Steps
Download EaseUS Data Recovery Wizard on your system
You will need to download the software on your Windows or Mac device, which can be done by clicking on the ‘Download’ button. After downloading the file, you will need to click on it to finish the installation process. When the ‘Welcome’ dialog appears on the screen, click on ‘Next’ to proceed.
It would be wise to create a desktop icon to make the software accessible all the time. When you have the software on your system, you will be able to recover deleted files whenever you want.
Steps you will need to follow to recover deleted files
-
For Windows
Step 1: Run the software and select the location
When you run the software, you will get an option to select the location that you want to scan. You can click on Local Disk, external hard drive, or USB, and you can also do SD card recovery.
Step 2: Wait for the scanning process to complete
When you select a location, the scanning process will begin, and you will need for the scanning to complete before moving to the next step. The initial scan will be done quickly, and you will be able to see the deleted files in the selected location.
The software will run another scan after the first scan, and it will do a deeper search this time to list all lost files in the entire data area. This process will take more time in comparison, but you will get the desired results.
Step 3: Preview and select the files you want to recover
When the scan is complete, you will get an option to preview all recoverable files, which is a good thing as you won’t have to recover unwanted files along with important ones. If you want to save time and locate the important files faster, you can apply different filters according to your convenience.
You can filter by file type as well, and recover important photos without having to go through video and audio files. After seeing the list, select the files that you want to recover.
Step 4: Recover lost files
After selecting the files you want to recover, click on the ‘Recover’ button, and choose a location where you want to save them.
Make sure not to save the files to the same location from where you lost them. Once you recover the important files in a different location, you can create as many copies as you want to avoid the same issues in the future.

-
For Mac
The steps involved in the case of Mac are almost the same as Windows; however, there will be a difference in the interface. After running the software, you will need to select the location and run a scan to proceed. When the search is complete, the results will be displayed on the left panel. Now, you will need to select the files you want to recover in search results and click on the ‘Recover Now’ button to finish the job.
Well, this is how you can recover lost data on Windows and Mac devices. There was a time when SD card recovery used to be a time-consuming task, but things have become easier now, and you can get the job done in minutes. EaseUS Data Recovery Wizard enables users to recover more than 1000 file types, which makes it a reliable software. Different Document, Graphics, Videos, and Audio formats can be recovered easily, and users can even recover ZIP files without facing any issues.
It is an all-in-one data recovery software, and it allows users to do a lot more than data recovery. It helps repair corrupted JPEG/JPG photos and damaged MP4/MOV camera videos by following a few simple steps. The software is completely safe to use, and it’s light as well, which means it won’t take up a lot of space on your computer.
It is available in different editions, and some of them are paid as well. The free edition allows users to recover up to 2GB of data, and the paid ones offer unlimited data recovery. The paid editions offer a few added features as well; however, if you want to do SD card recovery without spending money, you can go with the free edition.
Conclusion
We hope you liked this article and understood how to recover deleted files in a storage location on your system. EaseUS Data Recovery Wizard is a great software to do SD card recovery and recover deleted files on a desktop. It’s the best option for people looking for free software; however, you can also go for the paid editions to enjoy appealing features and unlimited data recovery. If you follow the steps correctly, you will get your deleted files back within minutes.
