 appStalkers All About Apps & Phones In One Place
 Excel spreadsheets are fantastic for creating financial records or conducting statistical research. Setting an open password and a restriction password to protect Excel files is very common. If you use a password on an excel sheet, only approved users will be able to make changes to it. If your excel spreadsheet contains sensitive information, you’ll want to keep it safe from unauthorized access.
We are human, and we have a tendency to forget things, so in this world, we always have a workaround. Have you forgotten your excel sheet password and need to remove it from a spreadsheet? When you use a password-protected resource and forget the password, it can be frustrating. But you have landed on the right page. We will tell you how to remove passwords from Excel in this article. So, with no further ado, let’s get started.
What is an Excel Spreadsheet
Microsoft Excel is a spreadsheet program for Windows, macOS, Android, and iOS that was created by Microsoft. In excel, the calculation, graphing tools, pivot tables, and a macro programming language are all included. It’s a file with rows and columns of cells that can be used to organize, calculate, and sort data. Numeric values, text, formulas, references, and functions can all be found in a spreadsheet.
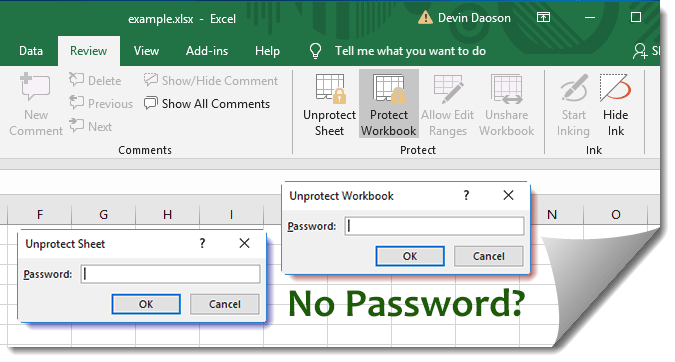
How to Remove Passwords from Excel Spreadsheet
Using Google Sheets
This method is extremely simple to use, but you will lose all of your macro/add-in codes, named ranges, and other customizations. If you don’t mind those issues, this is the quickest way to unlock your Excel Workbook or Worksheet. Both passwords would be removed at the same time using this method.
- Go to Google Sheets in any web browser.
- Open Google Sheets and upload your password-protected Excel file.
- Save the Google Sheet as an.xlsx document.
Doing it Manually (Without Tool)
This is a full-proof method that can be applied to any file type, including macros and add-ins. This method does not require any data.
- Exit the Excel spreadsheet.
- Rename the Excel file and append “.zip” to the end of the original name (do not delete the existing extension like .xlsx, .xls, .xlsm, etc.) To confirm, click “Yes.”
- Because of step 2, the Excel file will be automatically converted to a ZIP file. Double-click the ZIP file to open it. You’ll find a lot of folders and files inside the ZIP file.
- Follow the next step if your Excel Workbook is protected, or if both the Workbook and the Worksheet are protected. Otherwise, skip to step 10 if only your Excel Worksheet is protected.
- There would be a folder called “xl” inside the ZIP file. Look for a file called “workbook.xml” inside that folder.
- Copy/paste that file to your desktop and open it with Notepad.
- Now look for text that looks like this inside the.xml file; it will always begin with the “workbookProtection” tag.
- Save the file after removing the entire highlighted section of code.
- Copy/paste the updated file from your desktop back into the ZIP file you downloaded and confirm that you want to overwrite it.
- You’ll now find another folder called “worksheets” inside the “xl” folder. Look inside this folder for a file called “sheet1.xml” (if your Excel has multiple sheets, use the corresponding sheet number which you would like to unlock the password for).
- Copy and paste the file to your desktop, then open it in Notepad.
- Now look for similar text inside the.xml file, which will always begin with the “sheetProtection” tag.
- Save the file after removing the entire highlighted section of code.
- Copy/paste the updated file from your desktop back into the ZIP file you downloaded and confirm that you want to overwrite it.
- Close the ZIP file and remove the “.zip” extension you previously added.

Using iSeePassword Dr.Excel
If the last method fails, iSeePassword Dr.Excel will be your right-hand man, as it can decrypt any password pattern, no matter how simple or complex it is. It can not only remove worksheet/workbook passwords, but also the Excel open password, all without affecting the original data.
- To begin, download the software to the computer that contains the locked excel file. Follow the on-screen instructions to install it. Then choose “Remove Workbook/Worksheet Password” from the drop-down menu.
- Import your locked Excel file to the program by selecting “Add File” in this window; you can import multiple files at once.
- Simply click the Start button to allow Dr.Excel to remove the worksheet protection, and the password will be removed immediately.
Conclusion
Voila! We’ve unlocked the spreadsheets by following the simple methods given above. Turns out, “How to remove password from Excel?” is not a problem anymore.
Out of all the methods given above, the fastest method is to do it by using Google Sheets. However, it has its drawbacks making, iSeePassword Dr.Excel, the best option overall. It is fast and you don’t have to compromise on macro/add-in codes.